
- Before you paint interior walls, don’t skip the prep. Achieving a smooth, lasting finish starts with checking your walls, filling in any cracks or holes, giving them a good sand, and wiping everything clean.
- Applying a primer is not just an extra step. It evens out your surface, hides stains, and helps your topcoat go on smoother and last longer.
- Take your time between coats. By letting each layer dry properly, you get a clean, polished result without bubbling, peeling, or patchy colours.
If it’s your first time picking up a brush to paint interior walls, chances are you’re guessing your way through the process. Do you patch the cracks first? Prime or just sand it? And how do you actually get that smooth, streak-free finish that lasts? It might seem simple at first, but there’s definitely more to it than just rolling on a coat of paint.
From prepping the surface properly and knowing what tools to use, to making sure you get a consistently smooth finish without those bumps and patchy areas, it’s not long before the DIY stress starts to creep in. Most people also underestimate just how time-consuming and physically tiring it can be. And let’s not forget the cleanup after your interior wall paint because no one enjoys scrubbing dried paint off the floor.
Whether you’re refreshing a bedroom or the whole house, getting it wrong can cost you time, money, and more than a few sore arms. But don’t worry, we’ve got you covered with this step-by-step guide (plus some pro tips) to help you nail it the first time.

Table of Contents
How to Paint Interior Walls: A Step-by-Step Guide
Painting your interior walls might seem fun and easy, especially with all the inspiration on social media. But achieving a flawless finish takes more than just rolling on wall paint colour. It all starts with proper preparation.
Rushing through the process without prepping your surfaces, applying paint correctly, or allowing proper drying time often ends up with disappointing results. So before you find yourself wondering, ‘Where did I go wrong?’, make sure you follow each step carefully from start to finish.
Step 1. Check your walls’ condition
Before you start prepping to paint interior walls, take time to inspect your walls to make sure they’re ready for painting. Skipping this step can lead to major headaches later.
Here’s a quick checklist to guide you:
- Are there any cracks or holes, or chips on your wall?
- Is the paint peeling, flaking, or bubbling?
- Do you see any signs of moisture like water stains, mould, or mildew?
- Do the walls feel bumpy or have rough spots?
- Is there an existing wallpaper? If yes, is it fully attached to your wall or is it starting to peel?
Being thorough at this stage ensures that your interior wall is in the right condition for painting. It also helps you avoid common house painting problems down the track.

Step 2. Prep your walls
Now that you’ve checked your wall’s condition, it’s time to roll up your sleeves and get ready for prepping your walls.
- Cover your floor, furniture, and light fixtures
Before you do anything else, protect your space. Lay down drop cloths or plastic sheets over your floor, furniture, and light fittings to avoid unwanted paint splashes and dust.
- Remove any debris, old flaking paint, and deal with wallpaper
Use a putty knife to scrape off any loose or peeling paint. And if you have wallpaper, now’s the time to figure out what to do with it. If it’s already starting to peel or if it comes off easily, it’s best to strip it off entirely. But if it’s really stuck on there and in good condition, you can leave it and paint over it, just make sure the surface is clean, smooth, and well-prepped.

- Fill the holes and cracks
Grab your filling knife and some wall filler, and patch up any holes, cracks, or gaps you see. Smooth it out evenly and give it time to dry fully. No shortcuts here, or you’ll risk having uneven coverage when you paint interior walls later.
- Sand the walls
Sanding helps you achieve that pro-level finish. Depending on the wall’s condition, you can use a combination of medium and fine sandpaper.
Here’s a quick guide:
| Grit | Type | Purpose |
| 40 – 60 | Coarse | For stripping old paint, smoothing out rough spots, or dealing with major imperfections. |
| 120 | Medium | Ideal for prepping the surface so primer and paint can stick properly. |
| 180 – 240 | Fine | Great for timber or creating that silky-smooth surface before painting. |
After sanding, wipe off all the dust so you have a clean, dry surface before moving on to the final prep.

- Clean the walls
Now, it’s time to give your walls a good clean. You want to get rid of all the dust, dirt, grease, crayon marks, or anything that could stop the paint from sticking properly.
Use warm, soapy water and a sponge or cloth while wiping clean everything down. Make sure the walls are completely dry before moving on to priming or painting.
Step 3. Apply a primer to your wall
Once your walls are clean and completely dry, it’s time to prime. It might feel like an extra step, but trust us, it’s what separates an average paint job from a long-lasting, professional-looking finish as you paint interior walls.

Why prime?
Primer helps even out the surface, covers stains, and helps your topcoat stick better. That means you get a smoother coverage, fewer coats, and longer-lasting results.
Here’s when you want to definitely use a primer on your interior wall:
- You’re working with new or bare drywall
- The wall is made of wood
- You’re painting over old, previously painted drywall or glossy paint
- You’re switching from a dark colour to a lighter one
- You see lots of patched areas or stubborn stains that won’t come off
Think of primer as your paint’s best friend. It sets the stage for everything to go smoother and last longer. Once it’s on and dry, you’re ready for the fun part: painting!

Step 4. Cut in the corners and edges
You’ve probably heard painters talk about “cutting in”, and no, it’s not just industry jargon. It’s the technique pros use to paint the edges and tricky spots before rolling on paint on the main interior wall.
Here’s how it works:
Grab a brush and carefully paint along the edges of your walls, including:
- Where the wall meets the ceiling
- Inside corners
- Around doors and windows
- Near switches, sockets, or fittings
Cutting in helps you get a crisp, clean line and avoids those uneven, messy edges that can show up when you just rely on a roller. It also means you won’t have to roll too close to the trim or ceiling, which lowers the risk of slips and paint smudges.
Once your cut-in lines are done (and still wet), you’re ready to grab the roller and move on to your main wall’s bigger sections.

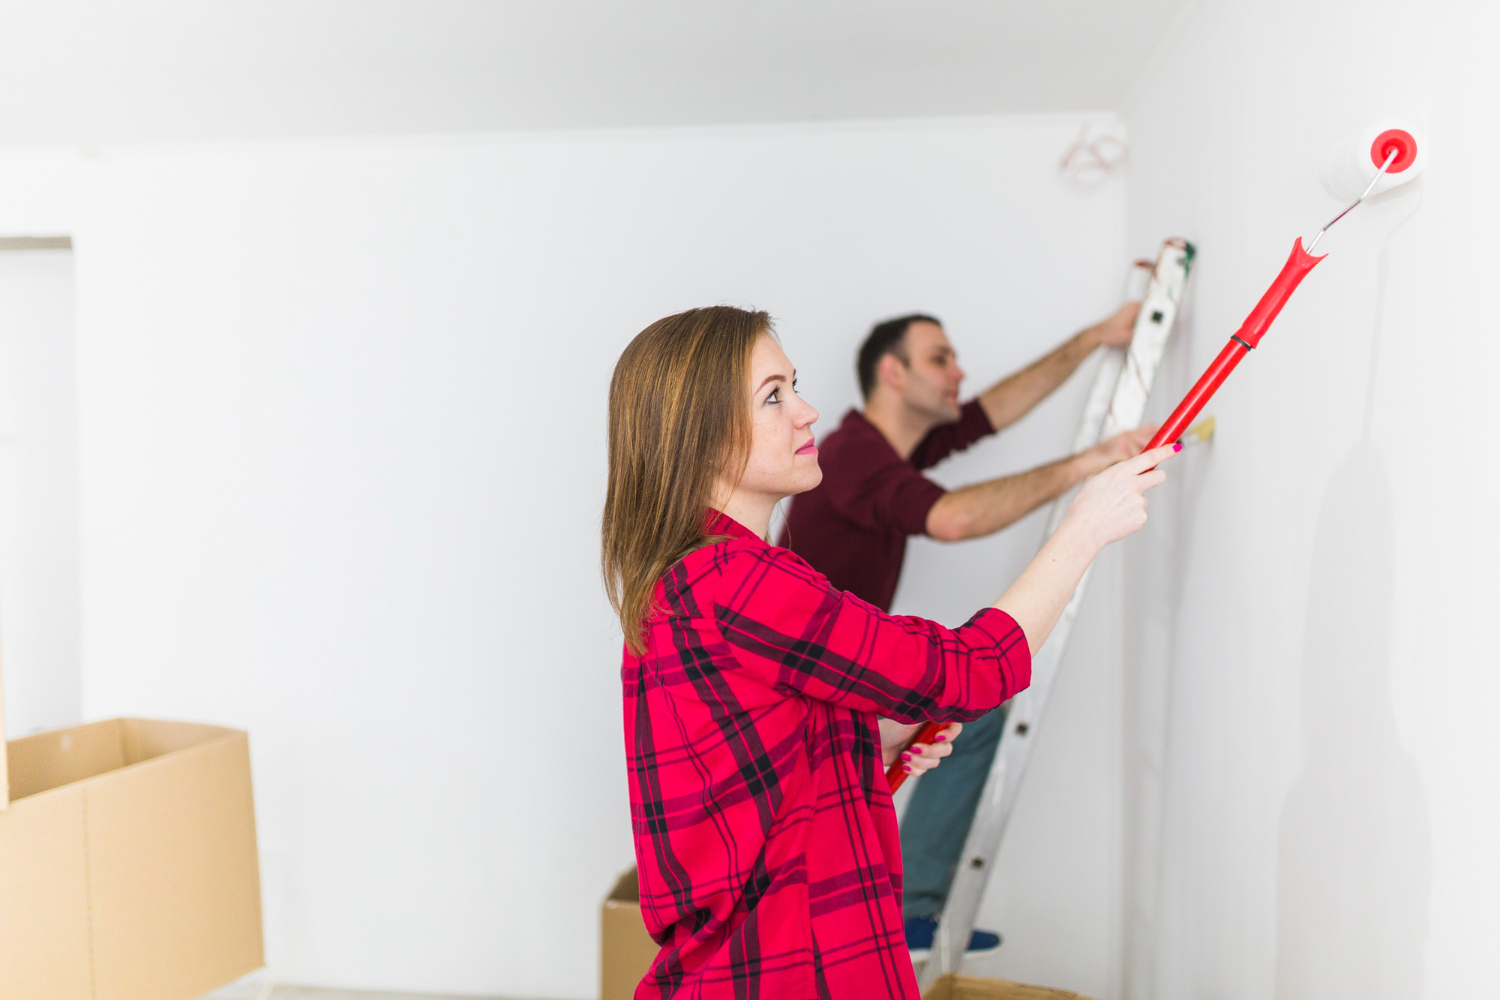
Step 5. Paint your interior wall
Now comes the fun part, finally getting to paint interior walls! Start by using a roller for the large, flat sections of your wall.
Here’s a simple technique that works:
Roll the paint on in a “W” or “M” shape to spread it out evenly, then go over it with smooth, up-and-down strokes to fill in the gaps. This helps avoid roller marks and gives you that nice, even finish.
A few quick tips:
- Test your paint colour on the wall first. Even with all the latest computer tools and visualisers that helps to mix and match a range of interior, nothing beats seeing the colour in real life. So try and paint a small patch on your wall first and check it throughout the day as lighting can change how it looks once it’s dry.
- Blend carefully around the edges where you’ve cut in so it all dries evenly.
- Apply a second coat if your wall colour needs it (especially when you switch from darker to lighter shade). Just make sure the first coat is fully dry before going over it again.
It’s important to take your time with this step. The more care you put in as you paint interior walls, the more polished and professional your finish will look.
Do’s and Don’ts When You Paint Interior Walls
Do’s
- Use high-quality brushes and rollers. They give you a smoother finish and make it easier to paint interior walls.
- Work in good lighting. Bright lighting helps you catch missed spots, streaks, or uneven coverage as you go.
- Keep a wet edge. This prevents streaks and lap marks from forming.
- Ventilate the room well. Open your windows or use fans to reduce fumes and help the paint dry faster.
- Clean your tools immediately after painting. Proper cleaning keeps your brushes and rollers in great condition for your next project.
Don’ts
- Don’t skip surface prep. A well-prepped wall is your secret to a long-lasting, professional finish when you paint interior walls.
- Don’t paint over dirty or greasy walls. The paint won’t stick properly, making it peel sooner.
- Don’t ignore safety. Wear a mask if you’re sensitive to fumes or when using older, lead-based paints, also protect your skin and eyes.
- Don’t paint in very humid or cold conditions. Extreme weather can affect how the paint dries and sticks to your wall.
- Don’t overload your brush or roller. Just use the right amount of paint to avoid drips, messy edges, and patchy coats.
- Don’t rush between coats. Let each coat dry fully to avoid uneven colour, bubbling, or peeling.
Final thoughts
Painting your interior walls can be a fun and rewarding project, but only if you take the time to do it right. If you paint interior walls with the proper prep, tools, and a little extra patience, you’ll be seeing a clean, professional-looking result that can completely transform your space.
If you’re not confident on how it may turn out, you can always come to us. At Paintistry, our team of painting professionals has the proper tools, skills, and experience to get the job done right first time, every time.
Let us do the hard work for you.
Get in touch today and we’ll help you paint interior walls and transform your space, without the stress and mess.
